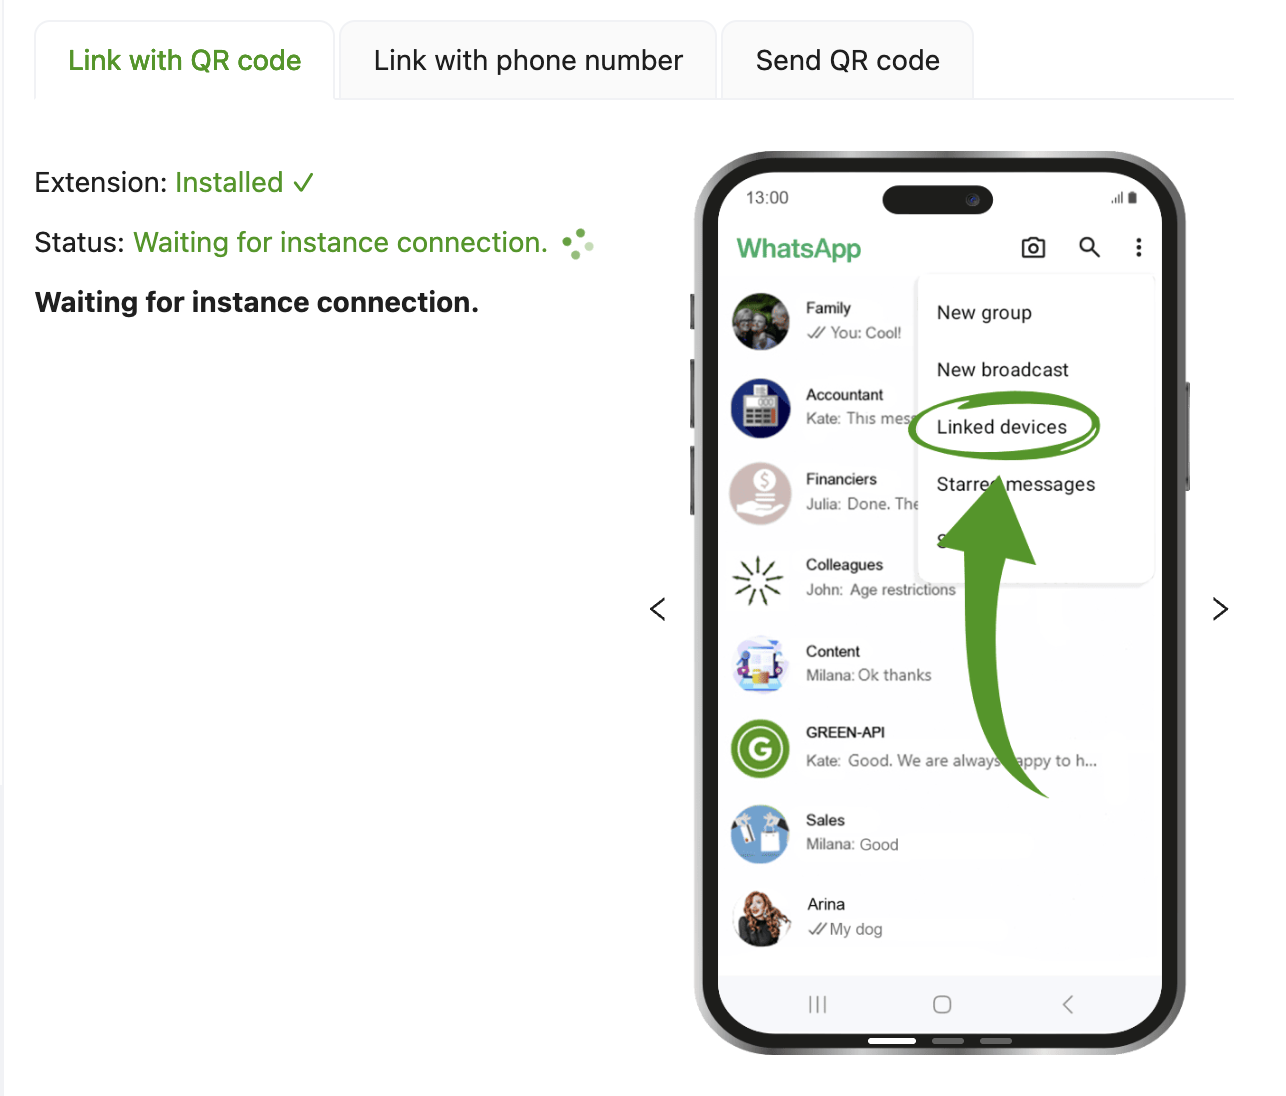
What is Passkey authentication?#
In this article, you'll learn what a Passkey is, how to log in to an instance using Passkey, how to install the browser plugin, and how to use it.
- Google Chrome plugin for Passkey instance authorization
- What is Passkey authorization for WhatsApp
- How to determine if WhatsApp has added Passkey authorization to your account
- How to authorize an instance with a Passkey
1. Google Chrome plugin for Passkey instance authorization#
Supported Browsers and Operating Systems
The current plugin has been tested and works on:
- Google Chrome version 128 or later
- Microsoft Edge version 142 or later for Windows (for Windows 11 22H2 or later with the KB5030310 update installed)
- Opera version 131 or later
Passkeys work on the following operating systems:
- Windows 11 version 22H2 or later and is partially compatible with Windows 10 with updates installed
- macOS version Ventura or later
- iOS and iPad version 16 or later
- Android version 14 or later is fully supported
- Linux version 131 or later does not support Passkey natively, but it is partially supported using Chrome and Edge browsers
The latest version of the plugin for Google Chrome is available for download using the button below:

To learn how to use the plugin, go to the section How to log in to an instance with a passkey.
2. What is Passkey authorization for WhatsApp#
Passkey — this is an alternative to traditional passwords and additional security for your WhatsApp account. In the summer of 2026, WhatsApp began an experimental transition of some users to Passkey for authorization on linked devices, web, and API instances.
We've simplified Passkey authorization as much as possible. Authorization still occurs in the console; for users who haven't received a notification about the need to use Passkey, authorization on the instance continues as before.
3. How to determine if WhatsApp has added Passkey authorization to your account#
When you attempt to log in to the instance in console after scanning the QR code, you will receive a message stating that you need to download the authorization plugin.
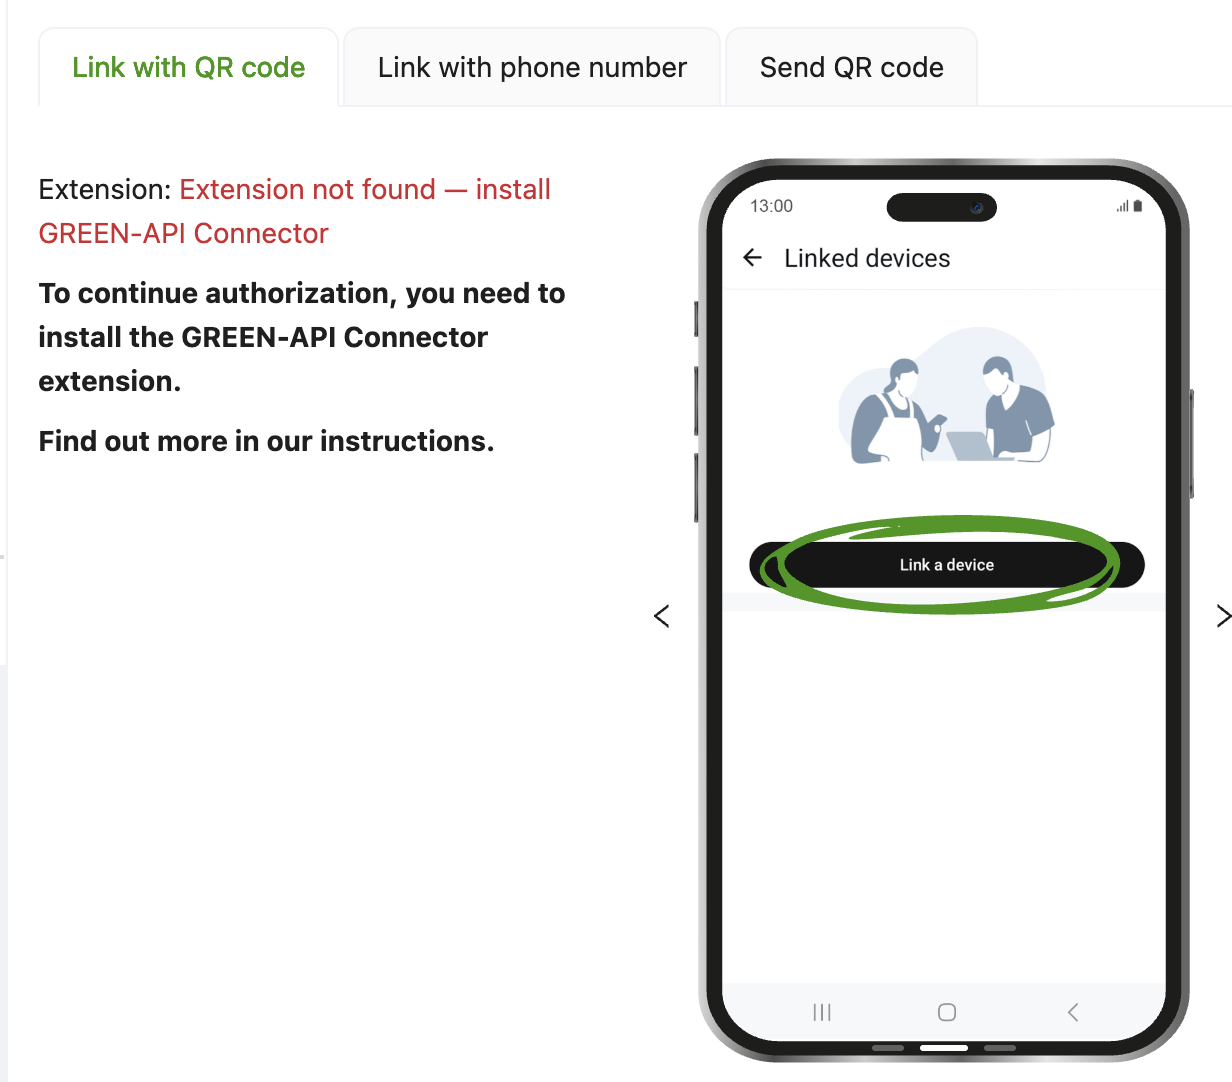
Also, if a passkey is added to your account, WhatsApp will send you a notification on your phone informing you that you need to create a passkey to log in to the linked device.
To create a passkey, click the "Create passkey" button in WhatsApp.
Use a configured password manager, such as Google Password Manager, Samsung Password Manager, or a similar app. Be sure to enable the lock screen on your phone.
Go to WhatsApp Settings -> Account -> Passkeys.
Next, create a passkey and follow the instructions provided by your password manager.
4. How to authorize an instance with a Passkey#
To log in to an instance using a WhatsApp account with Passkey authentication enabled, follow these steps:
4.1 Install and configure a password manager on your phone#
- A password manager with a passkey for WhatsApp is installed and configured on your phone.
- Your computer must have the required operating system and browser installed, as described in Google Chrome plugin for Passkey instance authorization
4.2 Install and configure the passkey plugin for the Chrome browser#
- Download the latest version of the plugin from the Google Chrome plugin for Passkey instance authentication section to your computer
- Unzip the archive to a convenient location
- Go to the "Extensions" section in your browser.
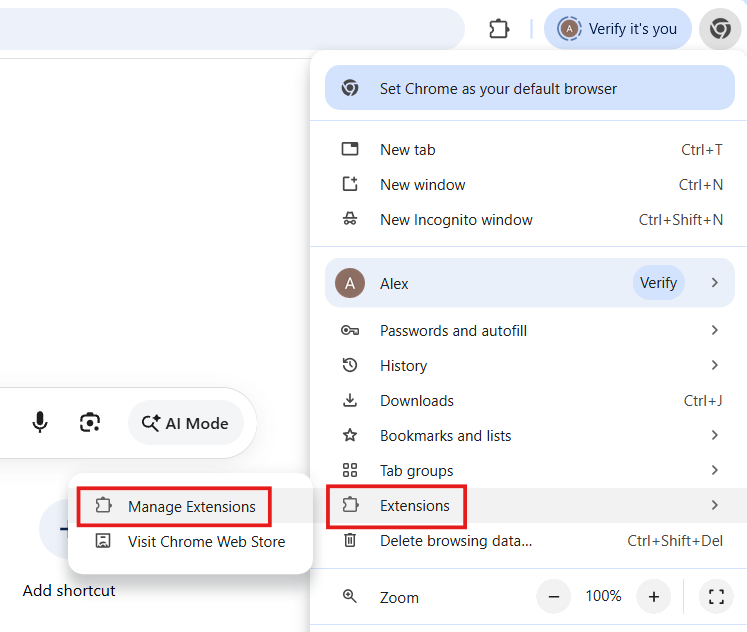
- Enable "Developer mode"
- Select "Load unpacked extension"
- Open the folder with the unpacked extension
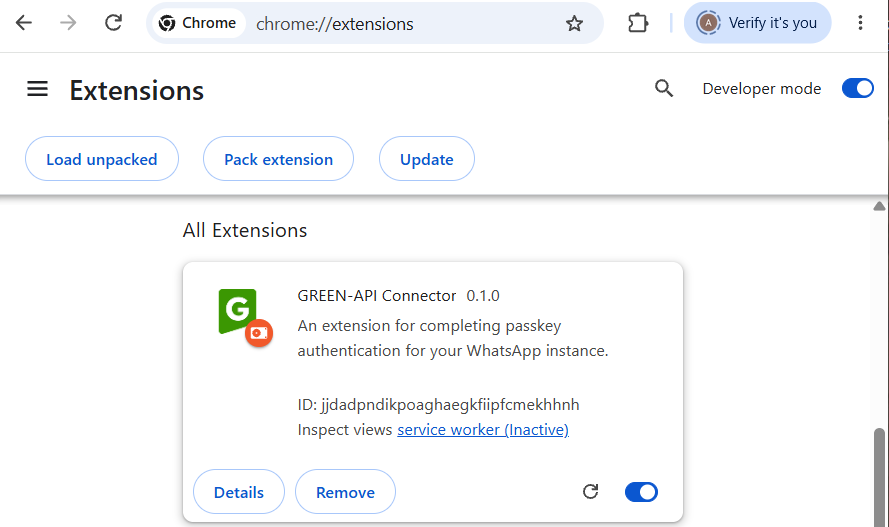
4.3 Authorizing an instance using the passkey plugin for the Chrome browser#
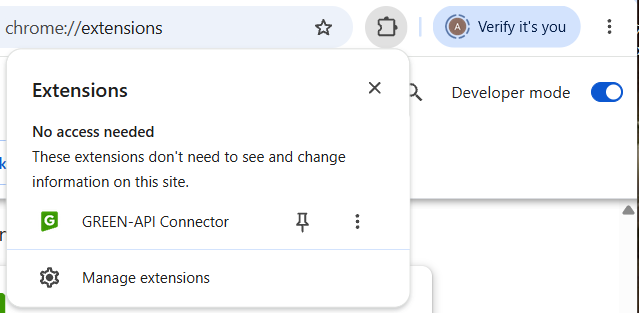
- Make sure the GREEN-API plugin is enabled in your browser
-
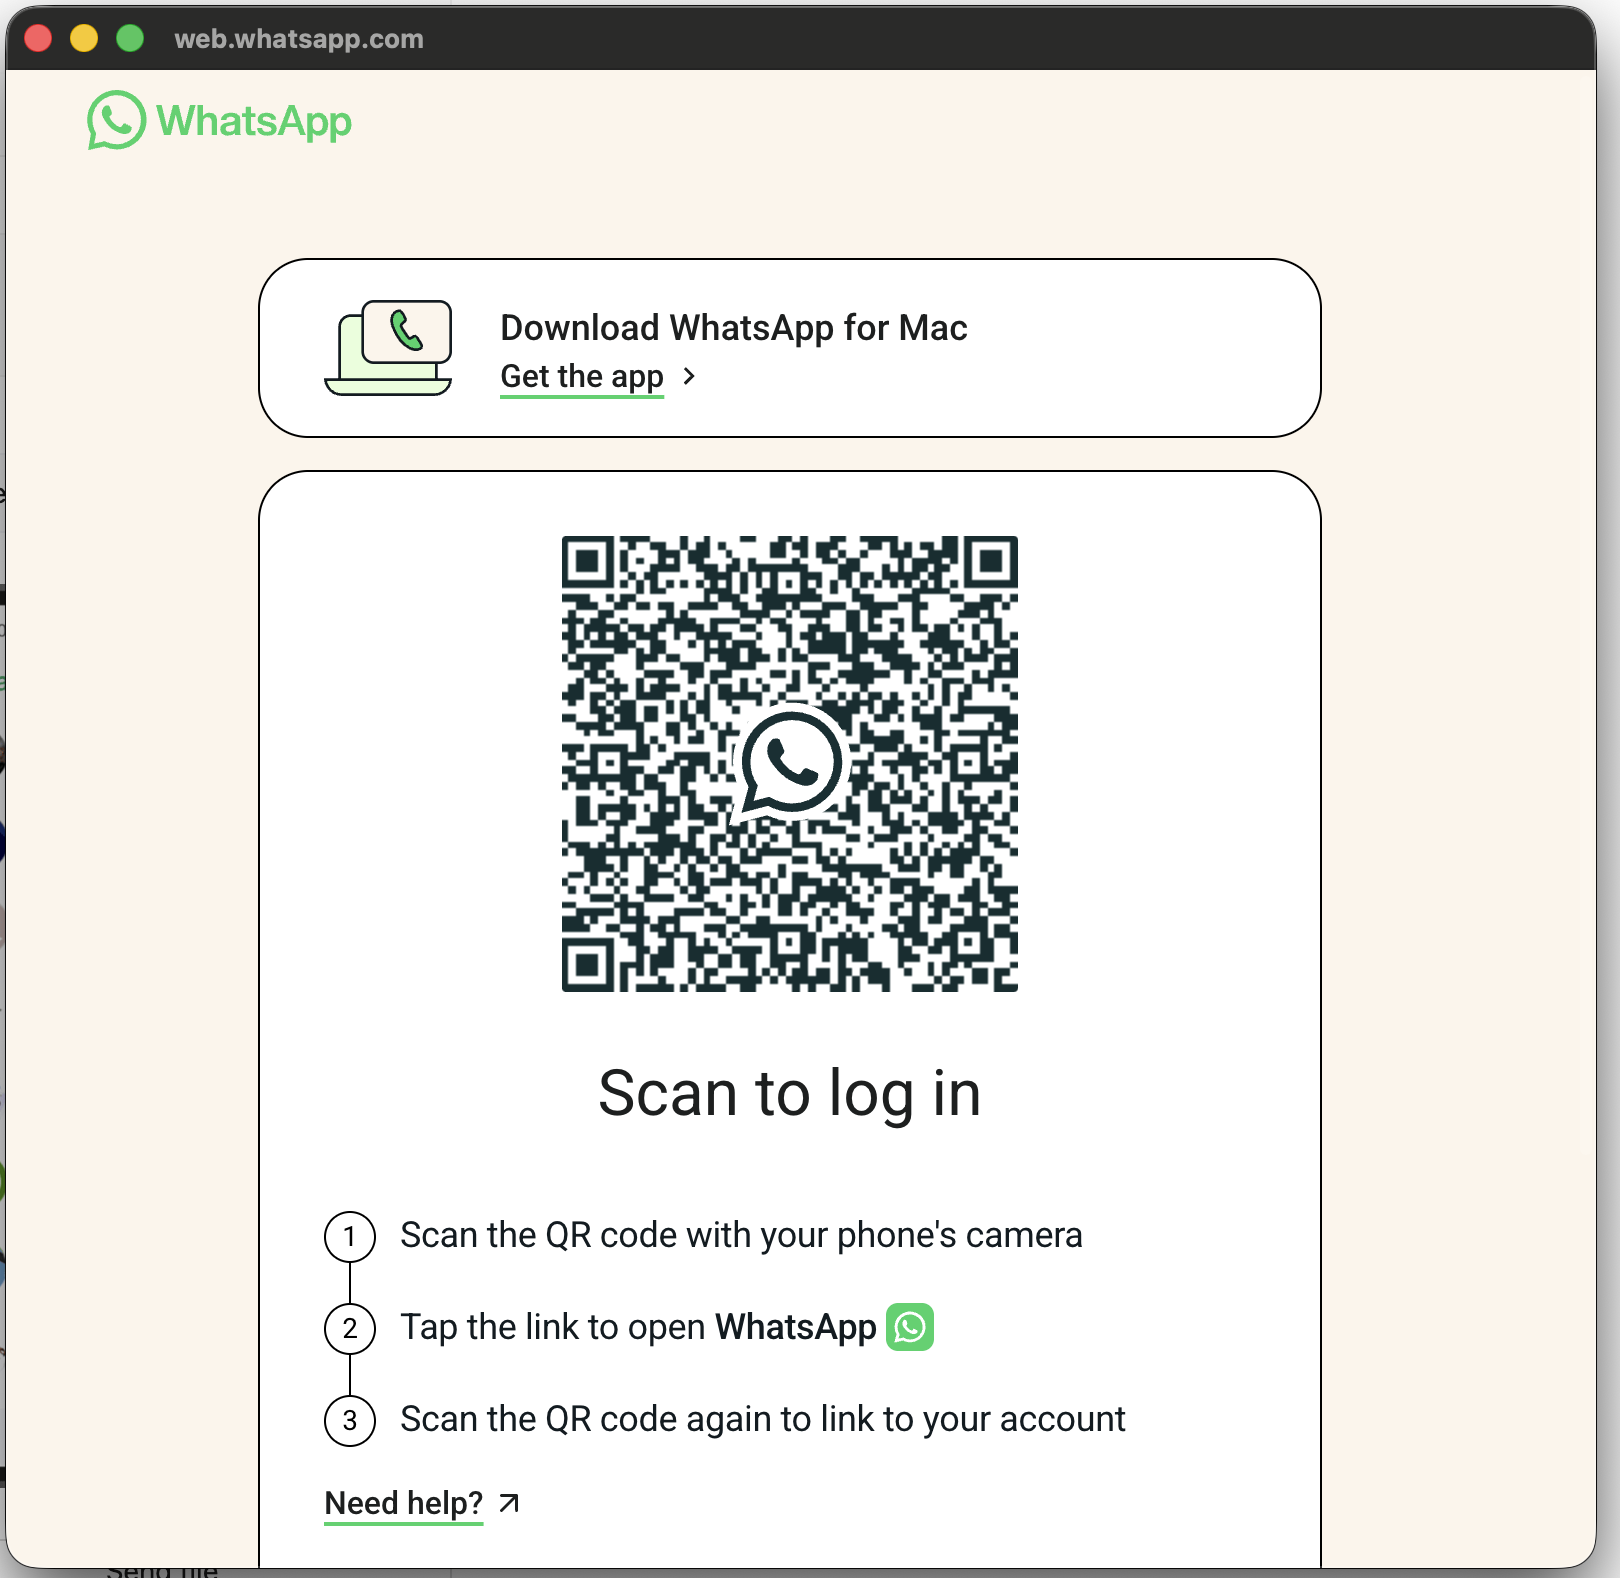
Scan the QR code in your personal account
-
An additional window will open in the browser
-
Scan this QR code and select a passkey for WhatsApp on your phone
-
A pop-up window will appear asking you to continue authorization on your computer
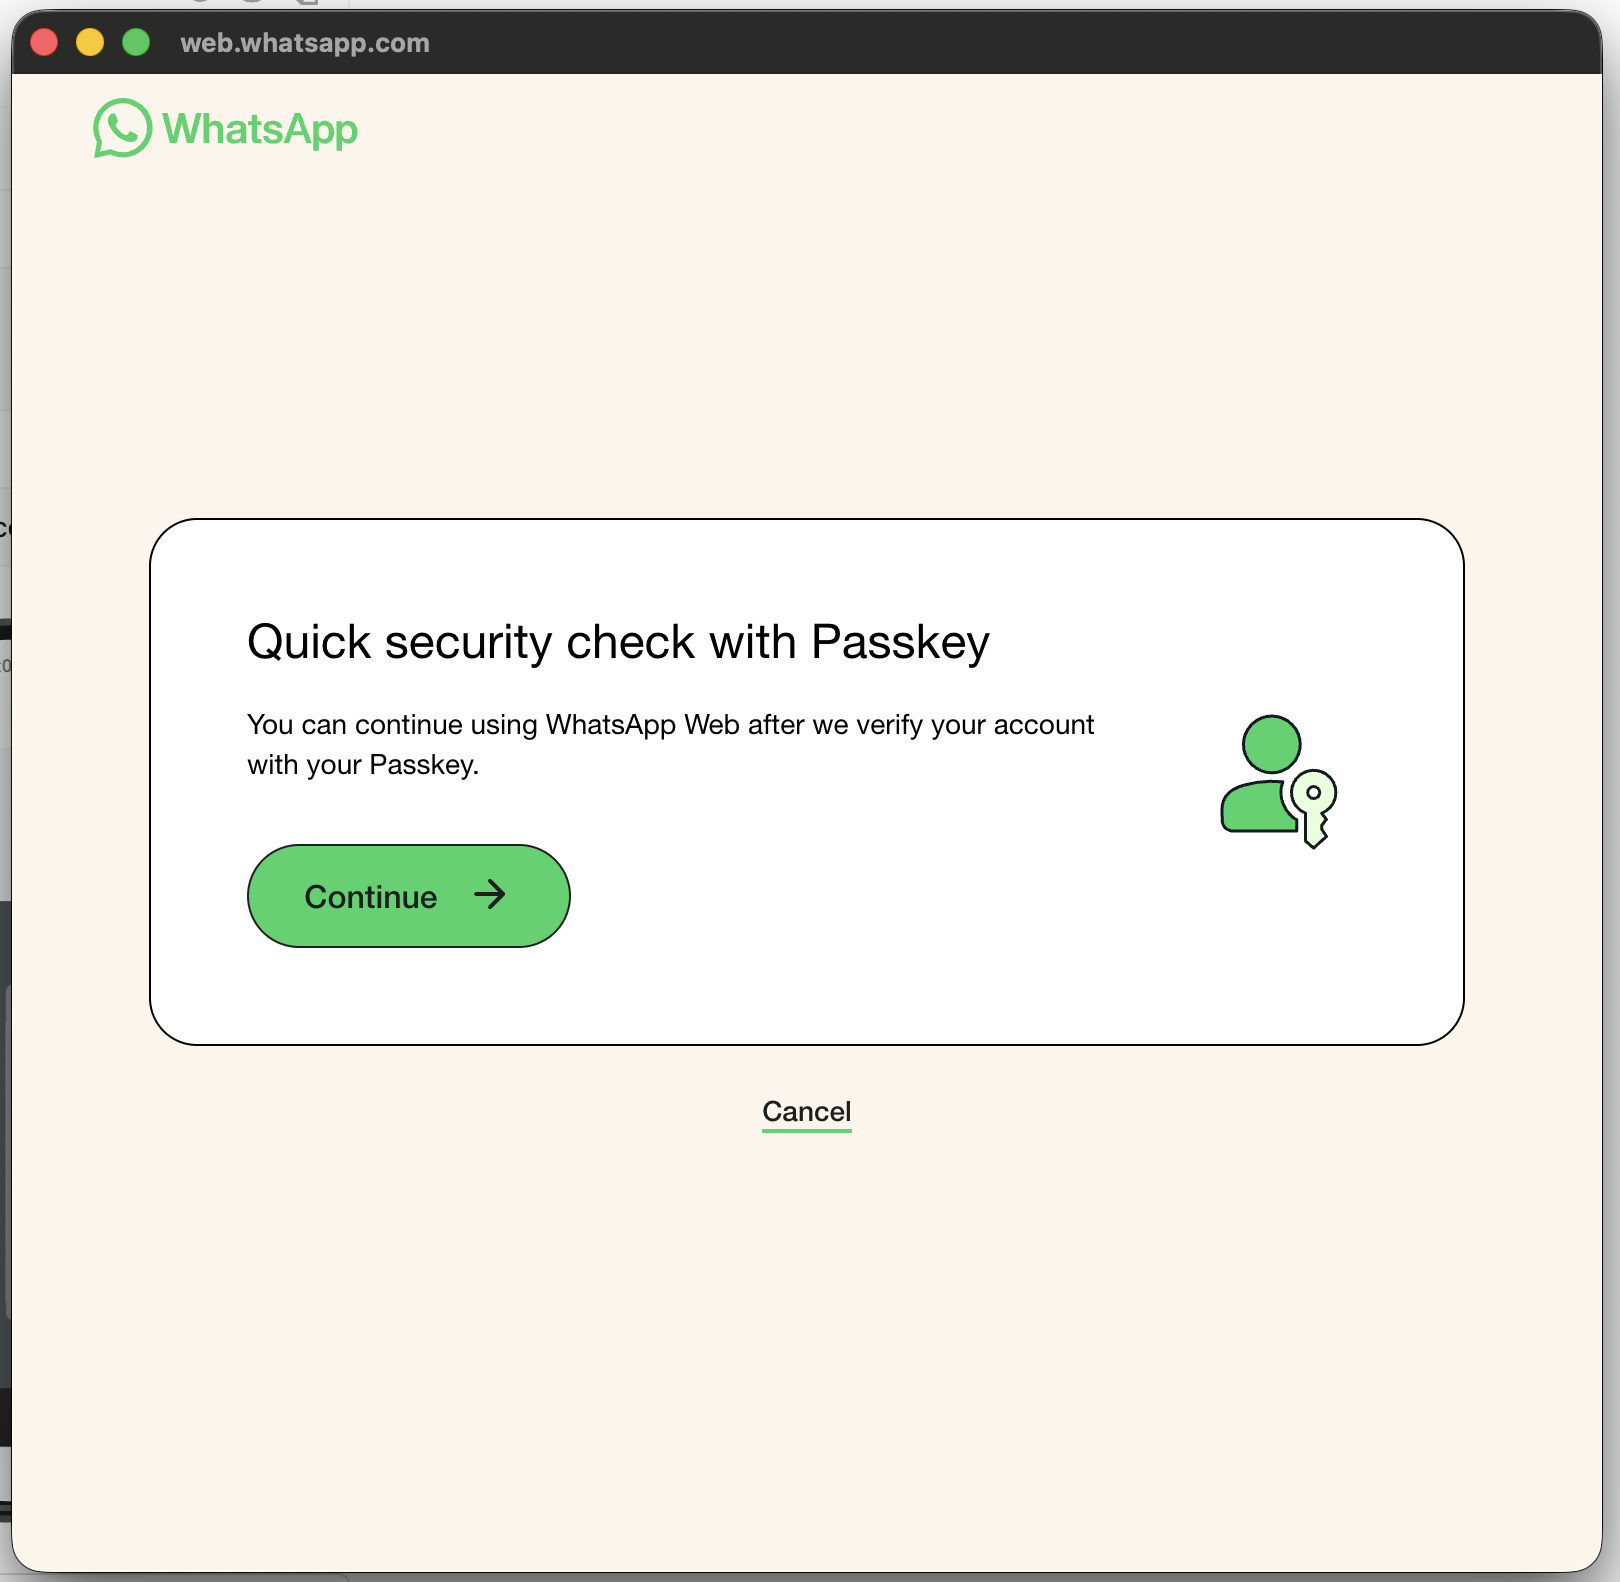
- After this, a window with a passkey confirmation will appear in the browser on your computer
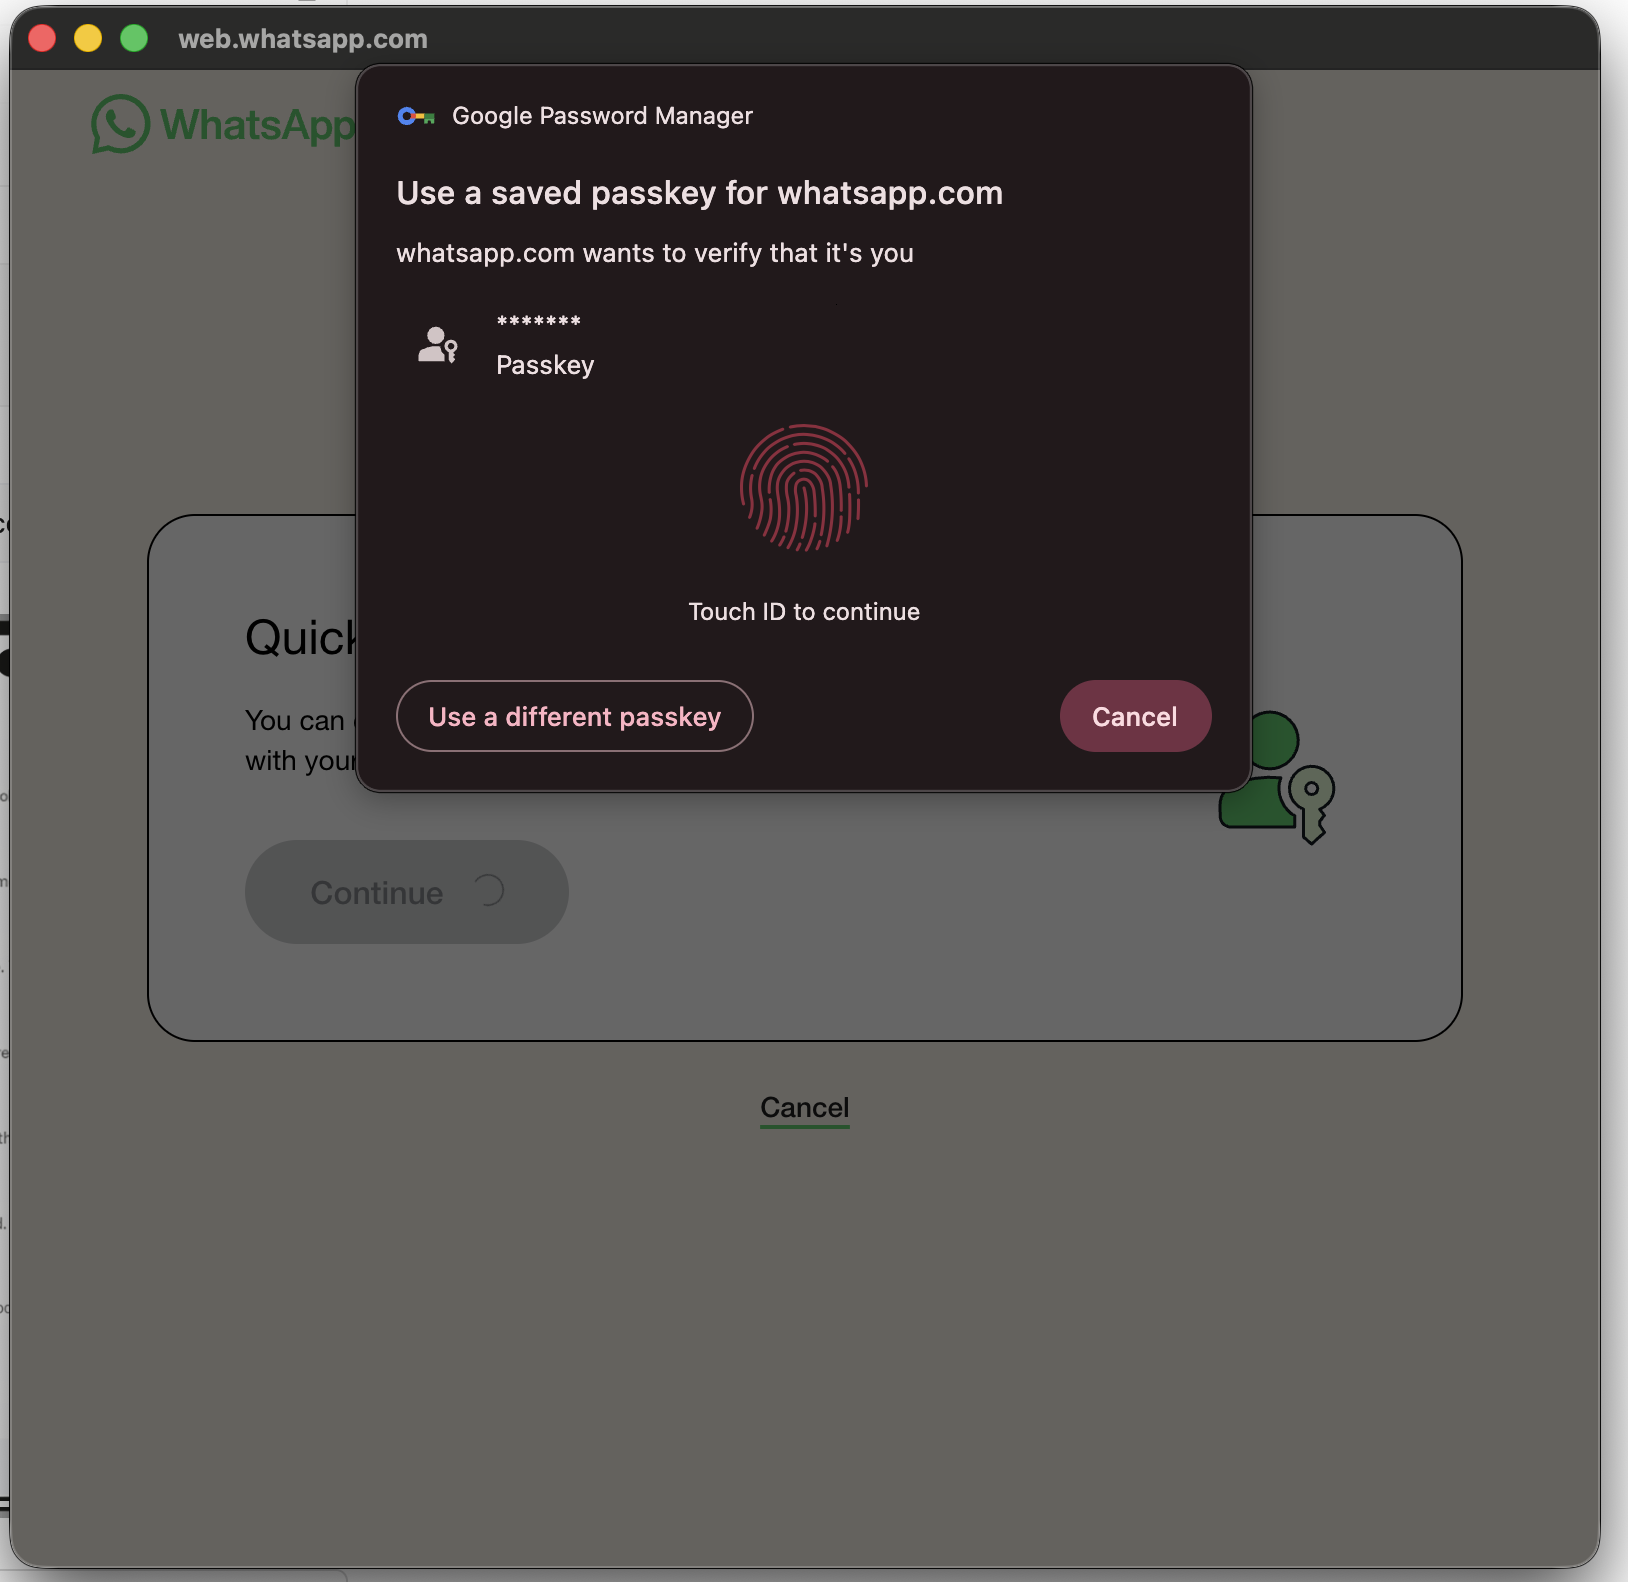
- Confirm the code on your phone to authorize the instance
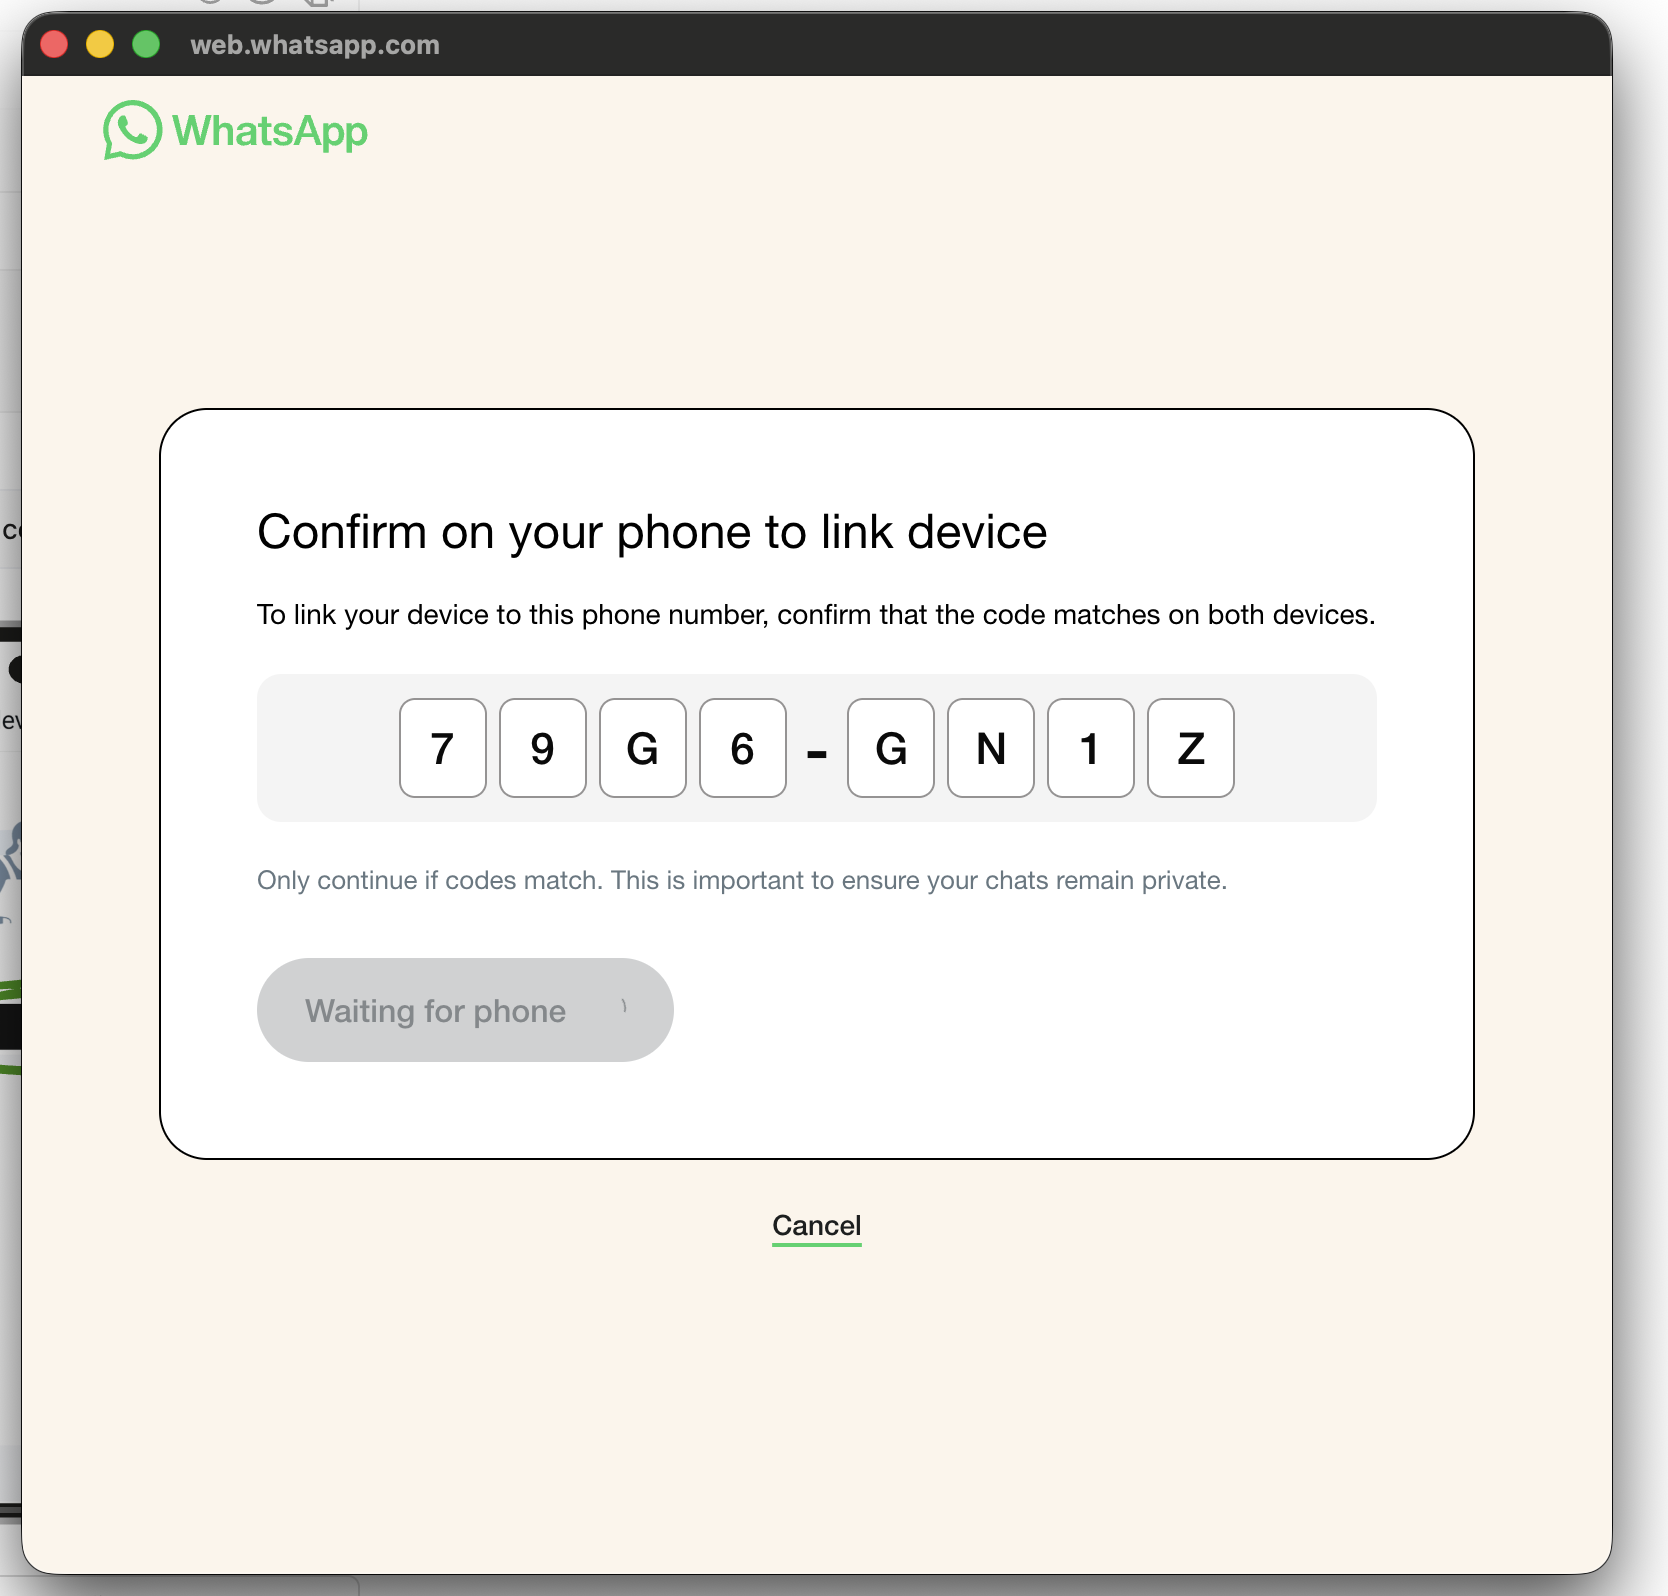
- Wait a bit for your instance to start and work with the API as usual